GPG with Agent on OS X - Sign your commits!
With the recent accouncement of the new GPG signature verification on GitHub, GPG signing moved back into the spotlight. The more people adopting it the better, however there are not too many helpful guides out there. I personally struggled while trying to set it up on my machine a few weeks ago and that’s why I want to share my learnings here.
First thing to do is to install gpg + gpg2 and gpg-agent + pinentry-mac. The first two are for the main GPG actions (we need both for compatibility reasons) and the last two will be used for storing the GPG key passphrase in OS X’s keychain.
$ brew install gpg gpg2 gpg-agent pinentry-mac
Second, we have to generate a new GPG key if you don’t already have one. You can start the wizard to generate a new key with the following command:
$ gpg2 --gen-key
The wizard is going to ask you a few questions, here’s what I’d recommend:
- kind: RSA and RSA
- keysize: 4096 bits
- expiry: 1y
- real name: use your real name
- email adress: same here
- comment: some extra information like your website URL or Twitter handle
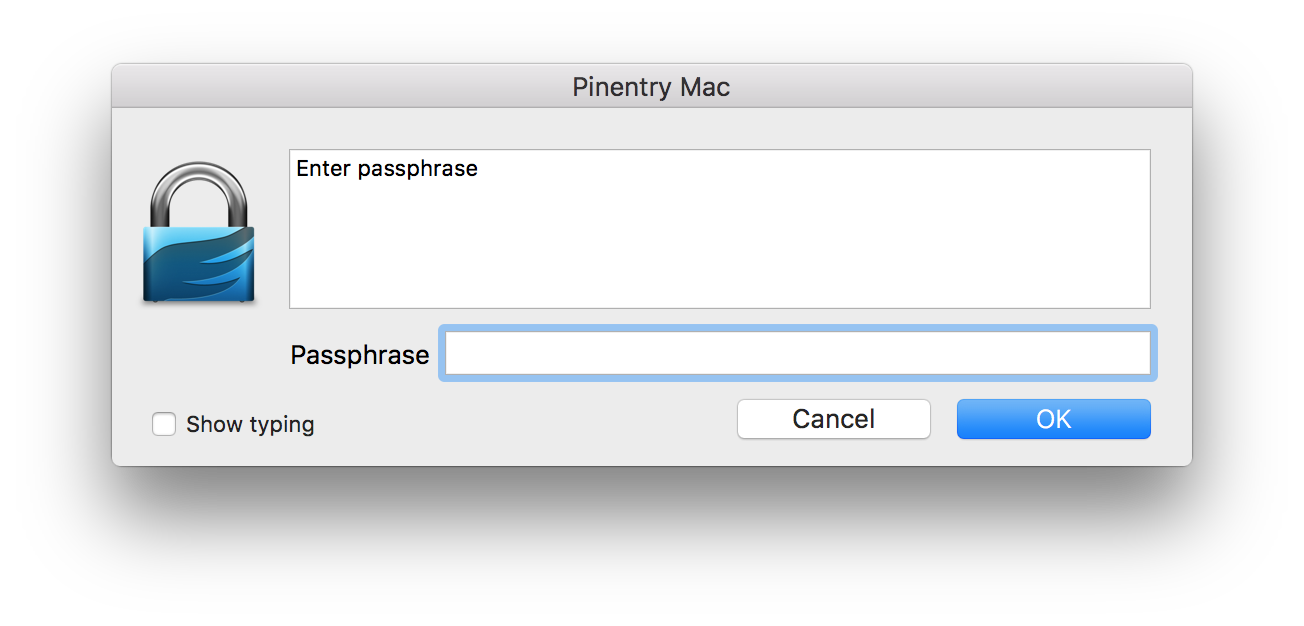
Afterwards, it will open a new window (this is the pinentry-mac app we installed earlier) where it prompts you for a passphrase - use a strong password and store it somewhere safe.
Next, check that everything worked as expected by listing your keys:
$ gpg2 -k
/Users/kim/.gnupg/pubring.gpg
-----------------------------
pub   4096R/77CBA19D 2016-04-06 [expires: 2017-04-06]
uid       [ultimate] Kim Thoenen (chive.ch) <[email protected]>
sub   4096R/5B5DDEE7 2016-04-06 [expires: 2017-04-06]
Now to configuring gpg-agent. This will prevents us from having to enter our key every time we want to encrypt, decrypt or sign something.
Add to following to your ~/.bash_profile file (or any other location that will be executed during shell startup)
[ -f ~/.gnupg/gpg-agent.env ] && source ~/.gnupg/gpg-agent.env
if [ -S "${GPG_AGENT_INFO%%:*}" ]; then
  export GPG_AGENT_INFO
else
  eval $(gpg-agent --daemon --log-file /tmp/gpg.log --write-env-file ~/.gnupg/gpg-agent.env --pinentry-program /usr/local/bin/pinentry-mac)
fi
This will ensure that the gpg-agent is running when you open a shell, and will also configure your current shell to find it.
Next, open the file ~/.gnupg/gpg.conf and uncomment the line where it says use-agent.
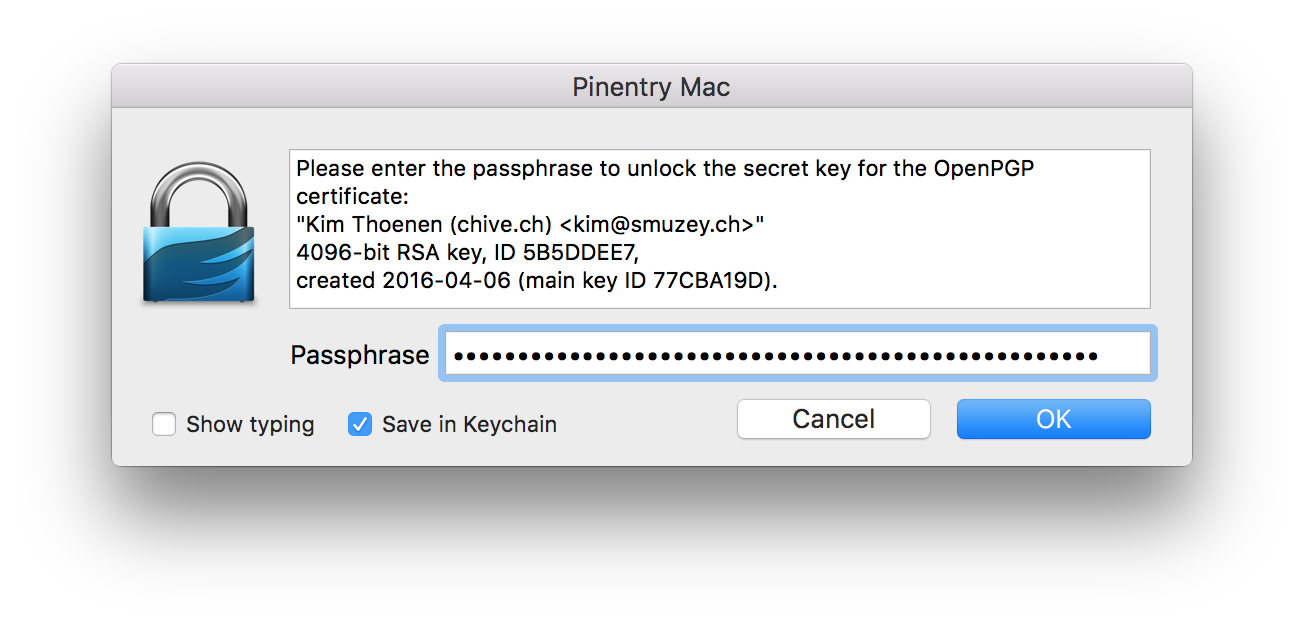
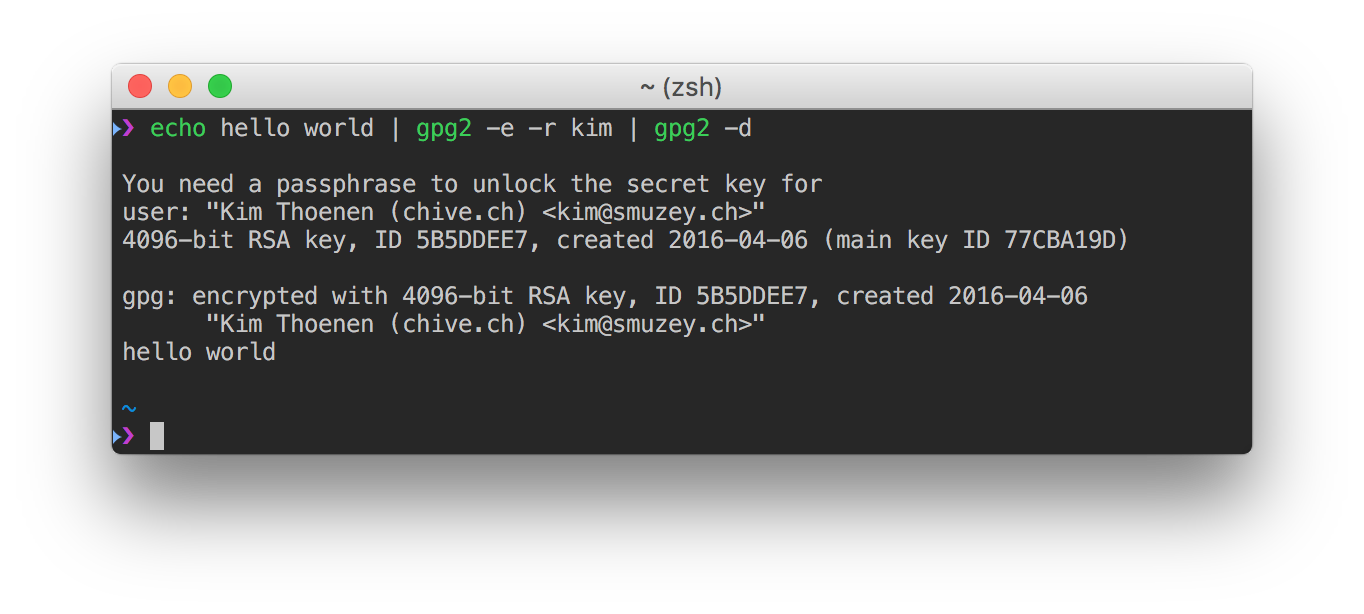
Now, everything on the GPG side is setup and we can test it with the following command. It will encrypt “hello world” for <recipient> and then immediately decrypt it again.
$ echo hello world | gpg2 -e -r <identifier> | gpg2 -d
Replace <identifier> with yourself - it will fuzzy match it against the name and email you have specified earlier when we’ve created the key. This will also open the pinentry program again: Enter your key, mark the checkbox Save in Keychain and confirm with OK
If everything was successful, you should see the “hello world” text again.
And now, finally, signing commits: all you need to do is add a -S to your git commit command.
$ git commit -a -S -m 'signed commit'

You need a passphrase to unlock the secret key for
user: "Kim Thoenen (chive.ch) <[email protected]>"
4096-bit RSA key, ID 3AD2F563, created 2015-08-29

[master b670131] signed commit
To see and verify these signatures, there is also a –show-signature option to git log.
$ git log --show-signature -1
commit b670131bec80d4273e785aa75b5e42dc2cc51017
gpg: Signature made Wed Apr  6 21:34:10 2016 CEST using RSA key ID 3AD2F563
gpg: Good signature from "Kim Thoenen (chive.ch) <[email protected]>"
Author: Kim Thoenen <[email protected]>
Date:   Wed Apr 6 21:34:10 2016 +0200

    signed commit
Even nicer is to configure git to automatically sign all commits:
$ git config --global commit.gpgsign true
Note: If you have multiple GPG keys you can specify one to be used as default by running:
$ git config --global user.signingkey '<identifier>'. Thanks to @schovi for that hint!
The last thing to do now is to let GitHub know about your key. Go to GitHub key settings and click on “New GPG key”. Paste the content of the following command and hit “Add GPG key”
$ gpg --armor --export <identifier>
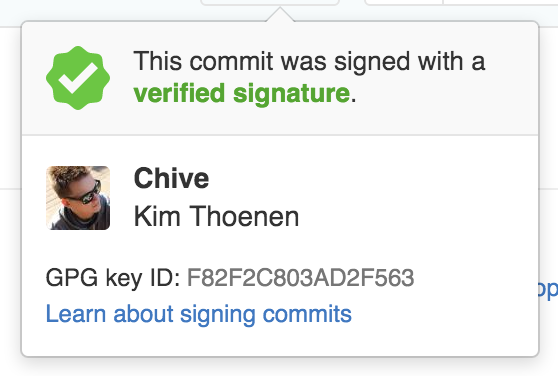
After you’ve pushed your test commit to GitHub it should be verified and look something like this:
If you want to read more about GPG and signing, here’s a few links I’d recommend: